Showing posts with label crafts. Show all posts

Saturday, June 2, 2012

Craft project: Freezer Paper Stencils

Freezer Paper Stencils give you a quick and easy way to add a design to nearly anything - Tshirts, cloth napkins, even diapers! Our family has used freezer paper stenciled designs to cover up odd stains, to spruce up old shirts and pants, and to express our originality. Freezer paper stencils are a good project for kids to do (with adult help), as well.

You will need:
Freezer Paper
Fabric Paints (or regular paint if you don't plan to wash the item you're painting very often, such as curtains)
Iron
Tshirt, or anything else you want to put a design on


First, you will need to decide on a design. Start with something simple and not too detailed. (I used the Batman logo for my first one.)


Freezer Paper Stencil Step 1

Tape it face down on the back (paper/nonshiny) side of a large piece of freezer paper, and then cut out your design from both the paper and the freezer paper. A simple design can be cut with scissors, or you can use a craft knife on more complex designs. (Alternatively, you can just sketch a design directly on the back of the freezer paper, or even cut out your design from the paper and trace it onto the freezer paper.)

Freezer Paper Stencil Step 2

Pull off the paper printout of your design and discard. Then, position the freezer paper stencil that you've just made over whatever it is that you're going to stencil on. Iron the stencil in place. Use a hot iron and rub it back and forth over the stencil slowly until it's adhered nicely.

Freezer Paper Stencil Step 3

Get out your fabric paints and DAB paint onto your project. Don't pull or push the brush, just dab with an up-and-down motion. A few light layers are better than one thick layer. Apply one layer of paint, let dry, apply another if needed and let dry, and repeat as needed. I've had to use 3-4 layers for dark colors on light fabrics, but fewer layers when there's not such a contrast between paint and surface.

Freezer Paper Stencil Step 4

Keep that up until the design is completely painted. You can obviously use more than one color if you desire. Then, once the paint is COMPLETELY dry, pull off the stencil and enjoy your design.

Freezer Paper Stencil Step 5

Be sure to follow the instructions on the fabric paint - some brands need to be set with a hot iron or dryer before washing. (You can reuse the stencil one or two times before the wax is so melted off that it doesn't stick well any more.)

Just a few ideas to get you started:
skull and crossbones AIO diaper (please note, you can make these for yourhttp://www.blogger.com/img/blank.gifself, but due to CPSIA regulations, you cannot make these for sale unless you plan to have them tested for lead in surface coatings.)

Three AIOs

Curious George Tshirts:http://www.blogger.com/img/blank.gif
Curious George Tshirts

Contributed by Sarah Reid from Boulevard Designs and Wallypop.
Saturday, March 24, 2012

Edibe finger paint / Jello Paint

I got this craft project idea from the daycare center my children attend.  Over there they have the yougner kids do fingerpainting with not only non-toxic paint, but edible paint!

Their recipe is quite easy. 

You'll need:

Jello ( or store brand) packages ( all the same color/flavor)
Boiling water, less than for eating Jello.
Ice cube

Boil the water and add it to the jello powder in a bowl, until  thick consistency.  It might not be dissolved entirely and it is OK, it adds texture!

Add ice to cool, it will get thicker too.

Repeat for each color.

Let the kids have fun and you'll have a nice smelling paint with a sandy texture!

Saturday, February 18, 2012

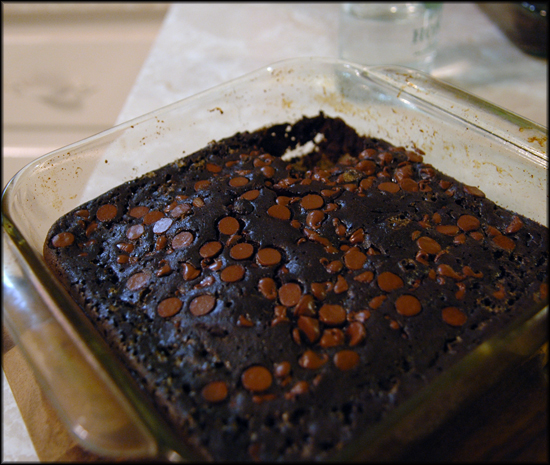
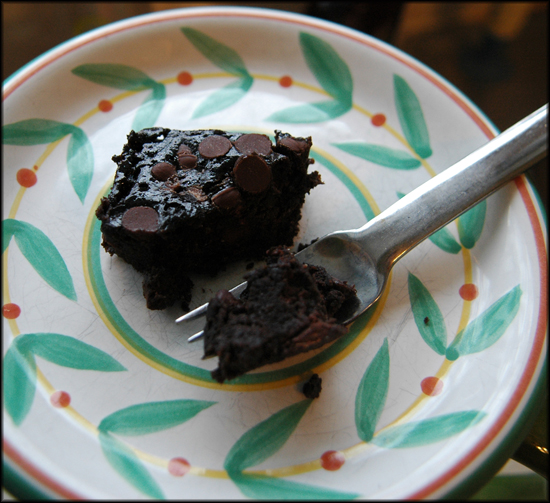
Black Bean Brownies

So, after reading about Black Bean Brownies here, , I had to try them. I was a bit skeptical, but they were delicious. And everyone of my children loved them also. They were easy. The black beans and spinach replaces the flour. Give them a try. And let me know what you think. I added more chocolate chips than the recipe called for (1 cup). I also used dark cocoa powder. I omitted the coffee, because I didn’t think my children would like that.

Ingredients

  • 1 (15.5 ounce) can black beans, rinsed and drained
  • 3 eggs
  • 3 tablespoons vegetable oil
  • 1/4 cup cocoa powder
  • 1 pinch salt
  • 1 teaspoon vanilla extract
  • 1/2 cup white sugar
  • 1 teaspoon instant coffee (optional)
  • 1/2 cup milk chocolate chips (optional)

Directions

  1. Preheat oven to 350 degrees F (175 degrees C). Lightly grease an 8×8 square baking dish.
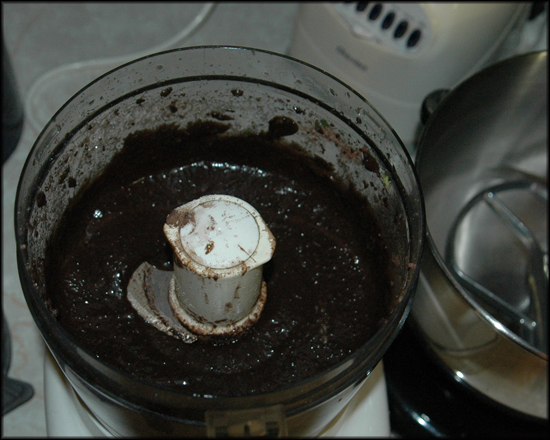
  2. Combine the black beans, eggs, oil, cocoa powder, salt, vanilla extract, sugar, and instant coffee in a blender; blend until smooth; pour the mixture into the prepared baking dish. Sprinkle the chocolate chips over the top of the mixture.
  3. Bake in the preheated oven until the top is dry and the edges start to pull away from the sides of the pan, about 30 minutes.

Nutritional Information open nutritional information

Amount Per Serving Calories: 126 | Total Fat: 5.3g | Cholesterol: 40mg

by Elizabeth of Catchick6 Creations
http://www.etsy.com/shop/Catchick6Creations
http://www.catchick6creations.com/

Related Posts Plugin for WordPress, Blogger...