'Black & White' by 3monkeysclothdiapers
A monochromatic take on Etsy Cloth Diaper Team items.
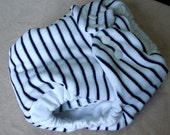
 Black Zebra Minky OS Fitted ... $28.00 | 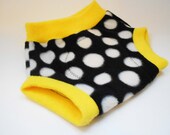 White Dots on Black Anti-pil... $7.50 |
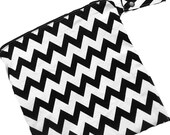 Chevron Black and White - 12... $17.00 | 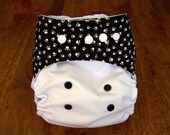 Pocket Cloth Diaper - One-Si... $15.00 |
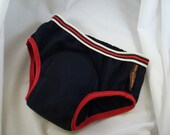 Cotton Toddler Boys Training... $12.98 | 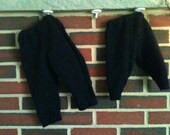 Upcycled Wool Longies, black $20.00 |
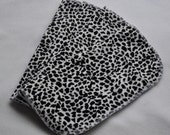
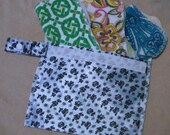
 Wet bag for cloth diapers Bl... $15.50 |  Do I Really Have to Explain ... $10.49 |
 Dalmation Print Baby Wipes -... $5.00 | 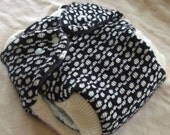 Wool Diaper Cover, Spotty bl... $21.00 |
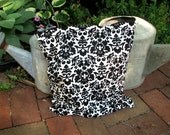
 Fitted cloth diaper, white w... $18.00 | 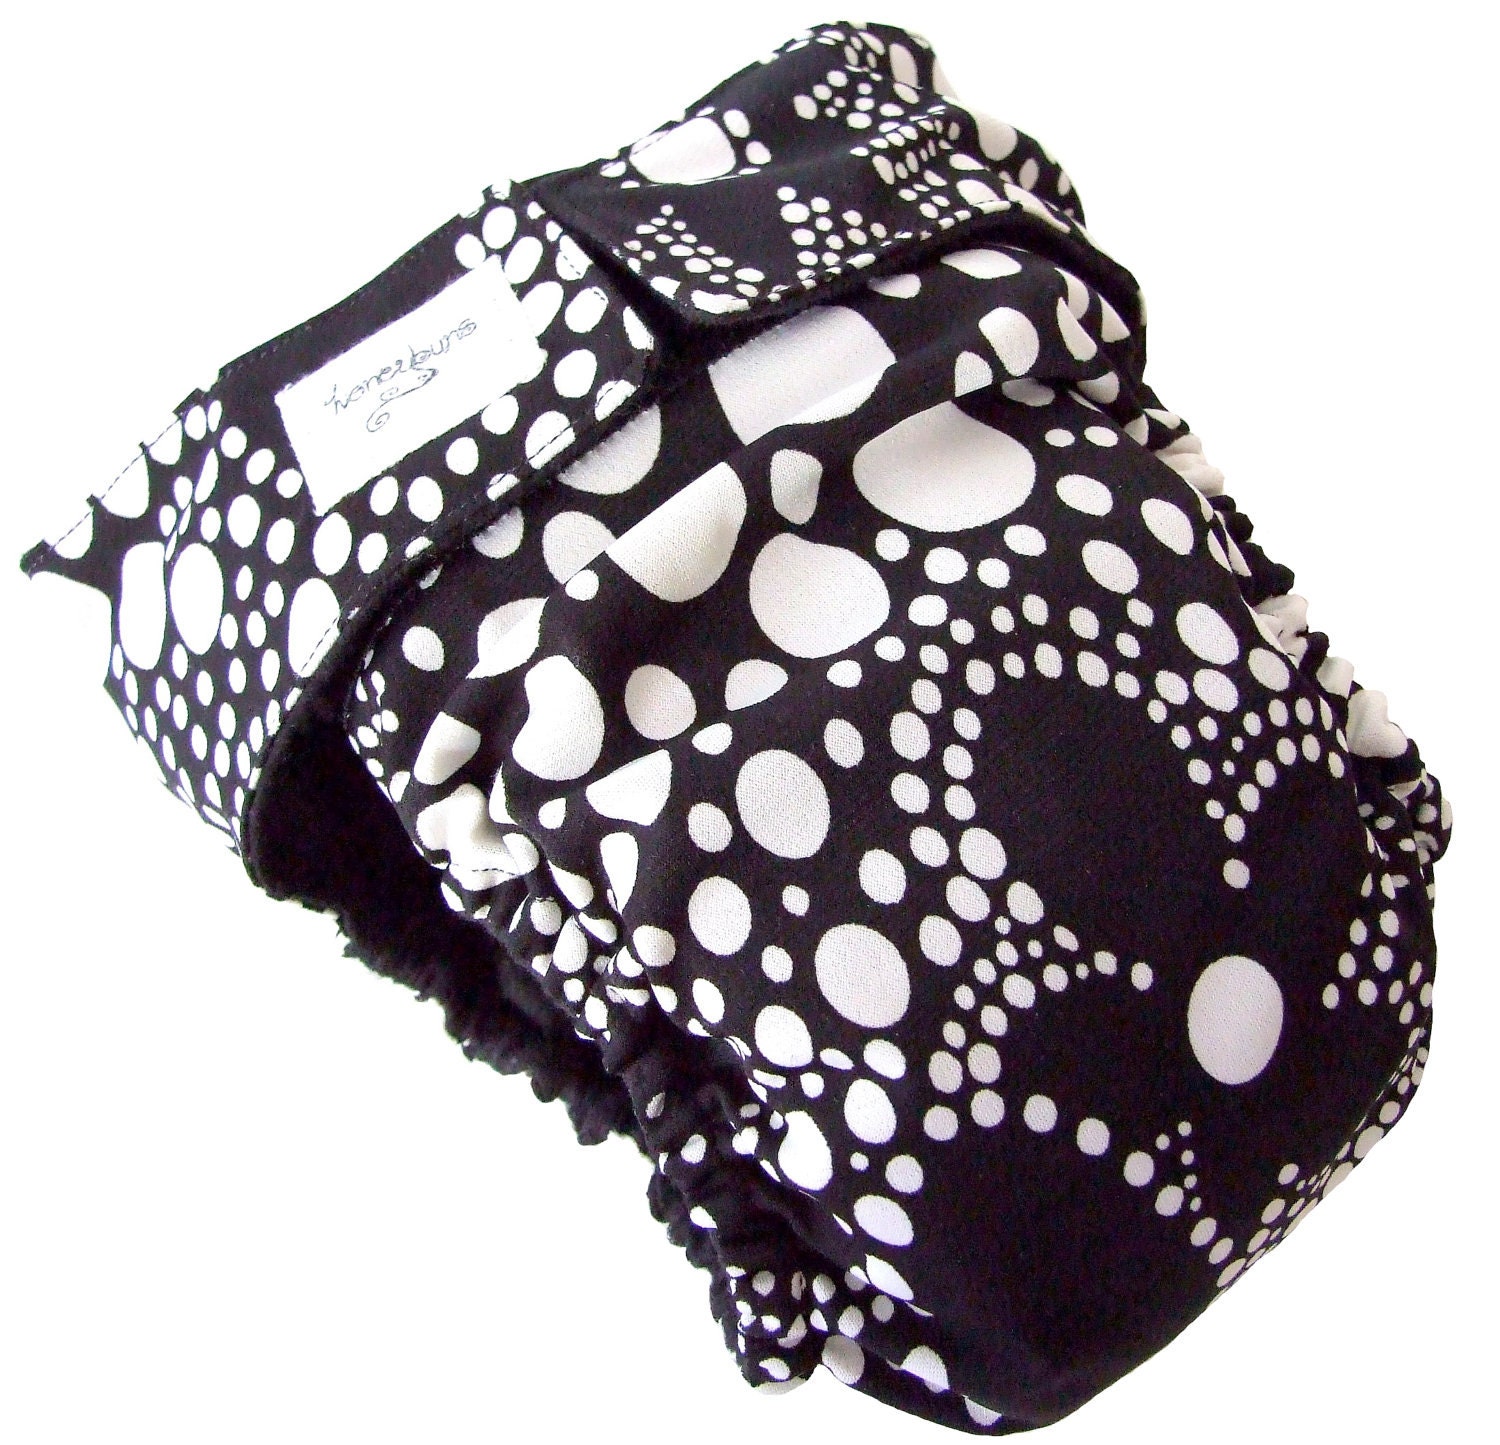 Black and White Floral AIO C... $20.00 |
 Upcycled Wool Soaker Cover D... $18.50 | 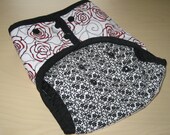 Toddler Cloth Diaper Cover -... $18.50 |
 Mini wet wipe travel bag, bl... $13.00 |  Limited Edition Grey and Bla... $16.50 |
Treasury tool supported by the dog house


