Showing posts with label recycled materials. Show all posts

Friday, January 20, 2012

Making Your Own Diaper: Where to Buy Supplies

Many people ask me where I buy the materials to make my diapers. My simple answer is usually, "online."

While my absolute favorite diaper making supplies are recycled materials (flannel receiving blankets, old sheets and T-shirts, wool sweaters, etc), I do also love to have a cute PUL print, or some buttery soft Merino Wool Interlock.

Here is a quick primer of places to buy supplies online. I know this is not extensive and if anyone has other recommendations of places they love to patronize, by all means, leave a comment!

Celtic Cloths: I love their glossary of different diaper fabrics and how to use them. They carry PUL, Hemp, Bamboo, Suede Cloth, Organic Cotton, and notions such as FOE, Aplix, and size tags.

Natures Fabrics: They carry a very wide range of diaper making fabrics, but I particularly love all the different wool they have. They have the most extensive line I have seen.

Diaper Sewing Supplies: LOVE how extensive their PUL section is. I also love their wide variety of FOE colors, and Kam Snaps.

Babyville Boutique is the newest line from JoAnn Fabrics. There is a whole section in the store dedicated to diaper making. And they sell in small quantities, so if you are just starting out sewing your own diapers you can experiment and play around.

The Fabric Fairy: The have tons of cute prints on cotton knits, great for making fitted diapers. They even sell “diaper cuts."

Very Baby: Their most extensive selection is in the microfiber and terry section.

Wazoodle actually sells precut diaper making kits. This would be very helpful for a beginner. They also carry ProCare and Zorb fabrics, which are the latest “technological innovations” in diapering!


Saturday, November 5, 2011

A Recycling Alphabet

This was a wonderful crafty art project for my 2 year old - making an alphabet from mostly recycled items (and a few craft supplies thrown in there).

I was inspired by this blog post about making books, and decided to make this into a little art project to show how fun it is to recycle! While ours isn't quite as "professional"-looking, I thought it was important to let my toddler help direct and choose materials, and glue them on the paper. I helped with all the cutting, but my toddler did the gluing.

Supplies needed:
- construction paper
- glue
- scissors
- various recycled and found materials including:

Here are some ideas of things you could use (we used most of these items!):

Natural materials: sticks, leaves, sand
Things found around the house: cotton buds, paper clips, straws, pasta, rice
Recycled materials: fabric scraps, egg cartons, packaging boxes, tissue paper, clothing hang tags, ribbons, string, twisty ties, coffee filters (used for previous art projects)
Craft materials: pipe cleaners, feathers

Directions:
1. Fold the construction paper the short way, then fold in thirds. Each third will contain a letter.
2. Apply glue as needed and construct each letter
3. Allow ample time to dry

We did this alphabet in about 3 sessions, and my toddler had a LOT of fun!

Saturday, October 22, 2011

How to make... a doll carrier

Making a doll carrier is easier than it looks.  It can make a great gift for toddlers and kids who want to do just like mommy (or daddy).  With the Holidays approaching ( I know we are still in October... ), it can make a great gift for toddlers and kids who want to do just like mommy (or daddy).

I made this one for my son when he asked to carry his one doll like I carried his baby sister.  Ok, I'll make you one, I said.  And naturally, when I was done, he did not want to use it anymore...

Please note that the carriers made with this tutorial are intended to carry dolls and stuffed toys, not real babies or child.

Anyways, here is how I made it, with upcycled fabric!

I took a men's flannel pj( you know, those with 2 inches hem...), so I could use the hem for the main piece:
  1. Cut one of the legs to make a 12in *16 in rectangle, keeping the big hem at the bottom.  Then a second piece that will be 2 inches shorter ( the one with the horizontal lines), so 12*14( if you serge the hem), or add a small hem allowance on that piece only.


  2.  Fold your pieces in half, and 2-3 inches from the top, cut a curve.
  3. Cut 2 : 4*20 inches ( straps) and one 3*28 inches ( waist band) from your fabric.  Ignore the white thing on the picture.
  4. Right side together, sew or serge along the long edge of the 3 long pieces, and turn right side out. Seam allowance is 1/4 in.
  5. Take you 12*14 pannel, and serge/overcast/hem the straight bottom part to prevent fraying.
  6. Make the straps:  Take the 2 20 inches tube and insert something to make them thicker, either some fleece, batting, or, like I did, some UNSTRETCHED Fold Over Elastic ( FOE).  Let both ends of the FOE show at the extremities.
  7. Sew a straight line on the straps to hold your «batting» in place, NO stretching.
  8. Take your 2 panels, right side together, and pin each strap  in the curve of the panels.  The straps will be hidden between the panels at this time and they will have a loose end.  Make sure that the extremities that will be sewn  show outside for 1/2 inch, like in the picture.
  9. Sew the 2 long sides and the curve together, like a U.  DO NOT SEW the bottom yet, you still need it to be open.
  10. Clip curves and turn. Topstitch the 3 sides you've just sewn.  You can also reinforce the straps at this point.
  11. On the shorter pannel ( the one you serged or hemmed the bottom edge), pin each loose strap ends 3/4 inch on the wrong side of the bottom edge of the fabric, approximately 1/2 in from the the side seam.  Make sure the straps are not twisted.  
  12. Sew each strap in place.
  13. Prepare your snapping material.  For each strap you will need 3 caps, 1 stud and 2 sockets.
  14. Put one CAP on the 3/4 inch hidden end of strap ( used as reinforcement), and one STUD or the right side of fabric. Snap.  Repeat for strap # 2.
  15. Take you 3*28 inches tube  and insert it in the big hem the the bottom of your bigger panel, and center it so each side is equal.
  16. Cut a 8 inch long piece of FOE or 1 inch wide elastic, insert it into the hem, pin and sew at each extremity of the hem.
  17. Now you can close the 2 panels together by sewing the shorter pannel to the longer one.  On the picture, I sew directly on my serged edge, as close as I can to the big hem. This side is the INNER side.
  18. Decide if you want the waistband to fasten with a knot or with velcro closure ( easier for toddlers).  If you decide on knots, just finish the raw edge and your alomsot done ( ie. see you in step 22 )  If you want velcro closure, keep reading:
  19. Cut your waistband shorter ( I did cut 3 inches on each side) and finish the raw edge.
  20. Sew a 1.5 inch HOOK velcro  at the end of one waistband strap, on the inner side ( toward the wearer).
  21. Hook is on the let side of the picture.
  22. Sew a longer LOOP velcro on the outer side of the opposite strap, closer to the main panel if you have a skinny toddler, like mine.  If you have some loop tape, it is even better, as you won't have to sew your velcro again as you child grow up.
  23. Now, back to snaps! You will apply 2 SOCKETS at the bottom of each strap ( the socket facing the wearer, so it is also facing the stud...), spacing them approximately 3 inches.  This will allow for your 2 years old as well as your 6 years old to wear it easily.
Et voilĂ !


Saturday, March 5, 2011

It’s so hard to say goodbye…


I once cried over a shrunken pair of longies. My DH said he liked it that I treasure the little things. I, on the other hand, was having the sneaking suspicion that I had become a little bit obsessed. That’s another blog though, about sweet little boys changing little brother’s diapers so mommy can sleep.

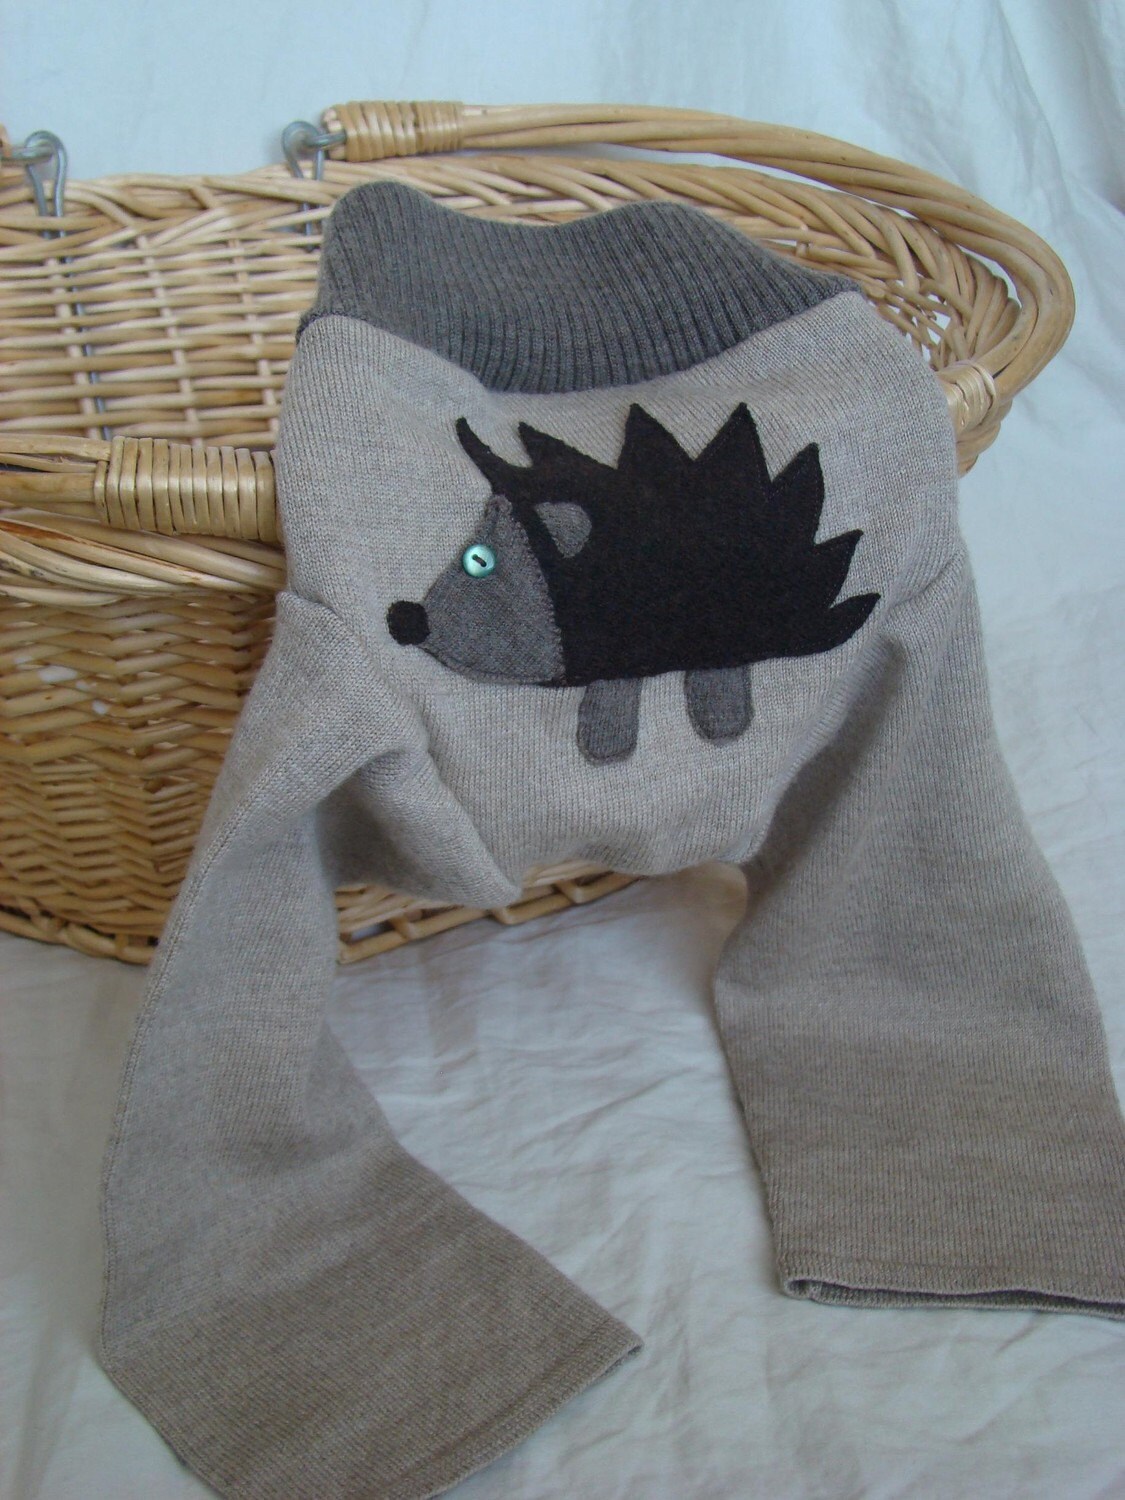
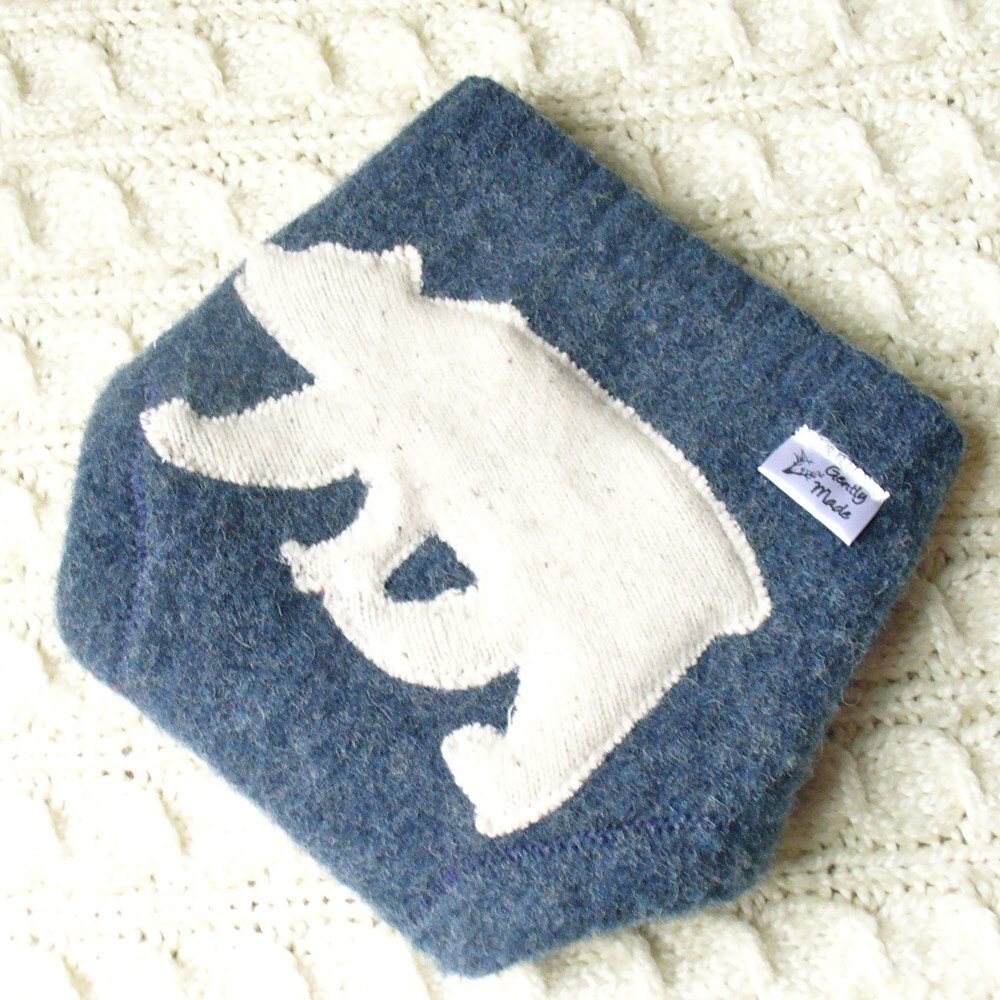
First loves. The excitement, the passion, the newness, the challenges, the possibilities. Yes, I felt all these things when I clamped my hand on the first wool sweater I would ever turn into a pair of longies for my DS. My first-love relationship with sewing cloth diapers was just losing its rosy glow (I had only tried 10 patterns or so), and I was ready for a new challenge. The store-bought PUL covers were working fine, but so blah. I was putting off the whole wool thing because I didn’t own a single wool sweater to sacrifice to the cause, and wool seemed to be non-existent down south. I wondered if I would have to travel upcountry to find thrift store sweaters. And then one day it happened.

For the incredible bargain price of $2.00 I found the absolutely most perfect sweater to make longies for my DS. As I stood trembling with excitement at the checkout a fellow shopper commented on the lovely pattern. I said, “Yes it is, it’s too bad it wouldn’t actually fit me.” The she asked me if I was going to felt it. I grinned (not too broadly, in case she frowned upon that sort of thing) and said, “Yes.” I did not tell her what I was going to make out of it.

I could hardly stand that I couldn’t take it home and right away make something out of it. I hurried to throw it in the wash and see what would happen. It was all so magical! When my new love was clean and dry I laid it out on my sewing table…now what? I turned it this way and that, I flipped it over, I measured it, but I could not bring myself to cut it. What if I ruined it, wasted that whole $2 (I’m very frugal by nature), not to mention the perfect sweater print that it was? Then my creative juices finally kicked in and I took the plunge.

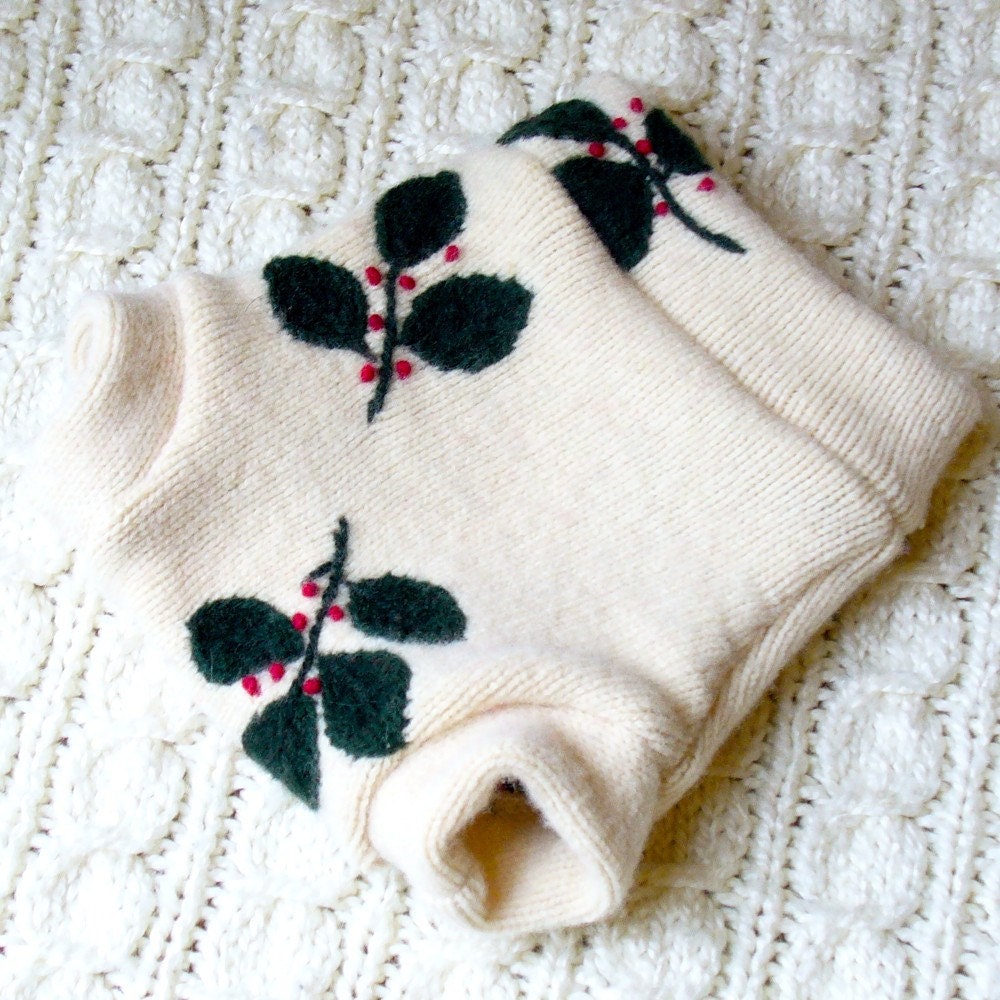
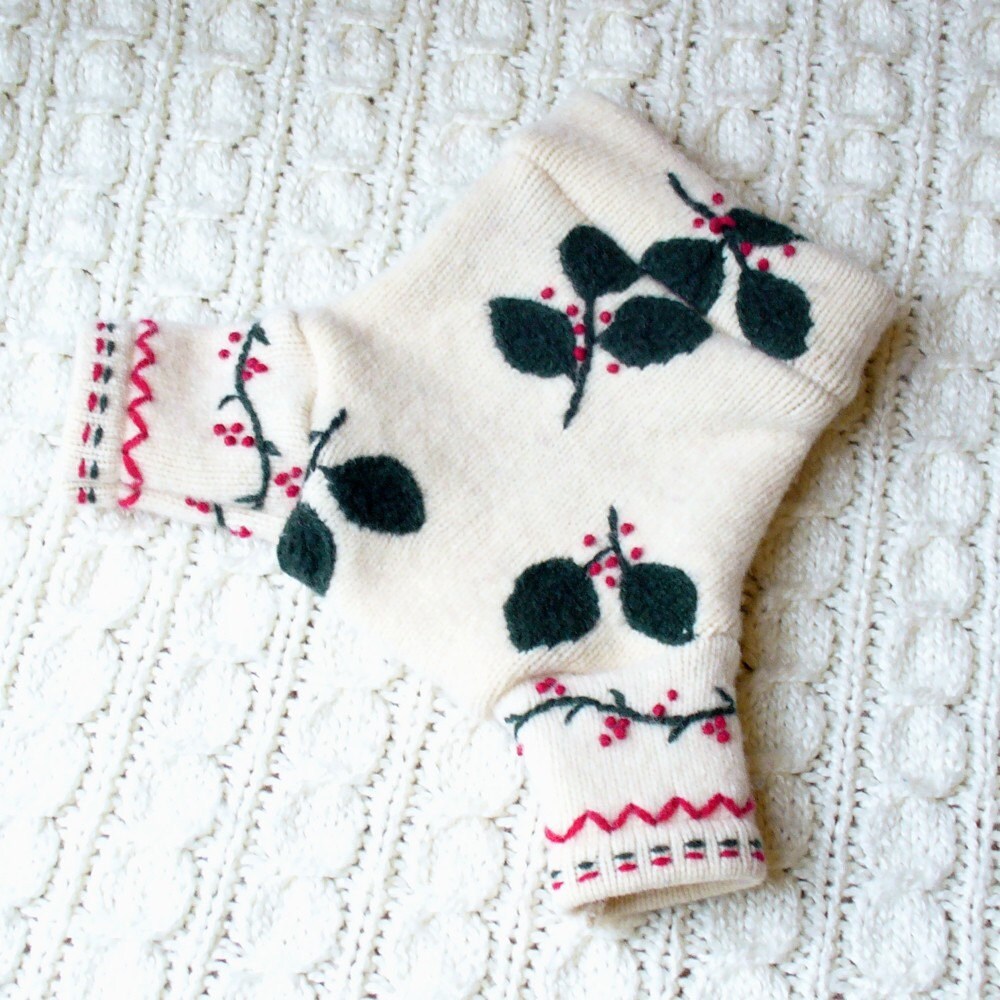
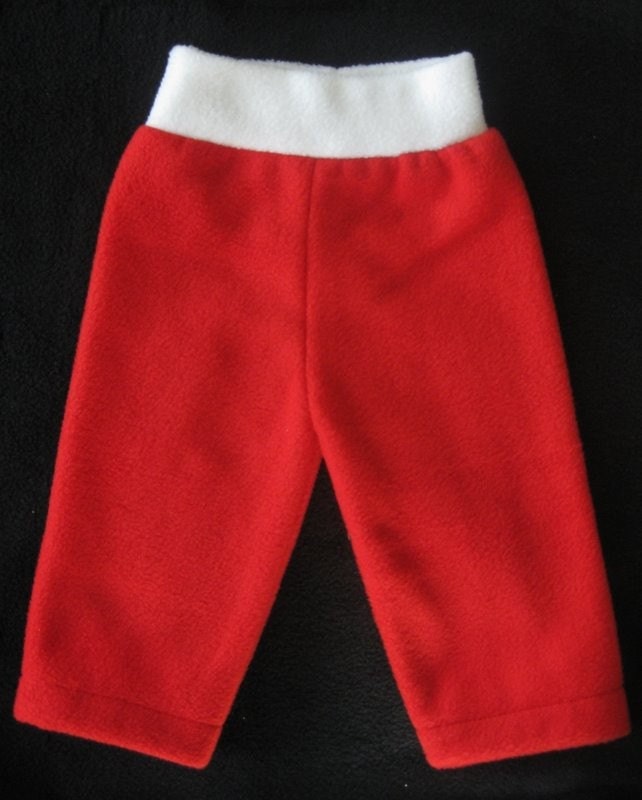
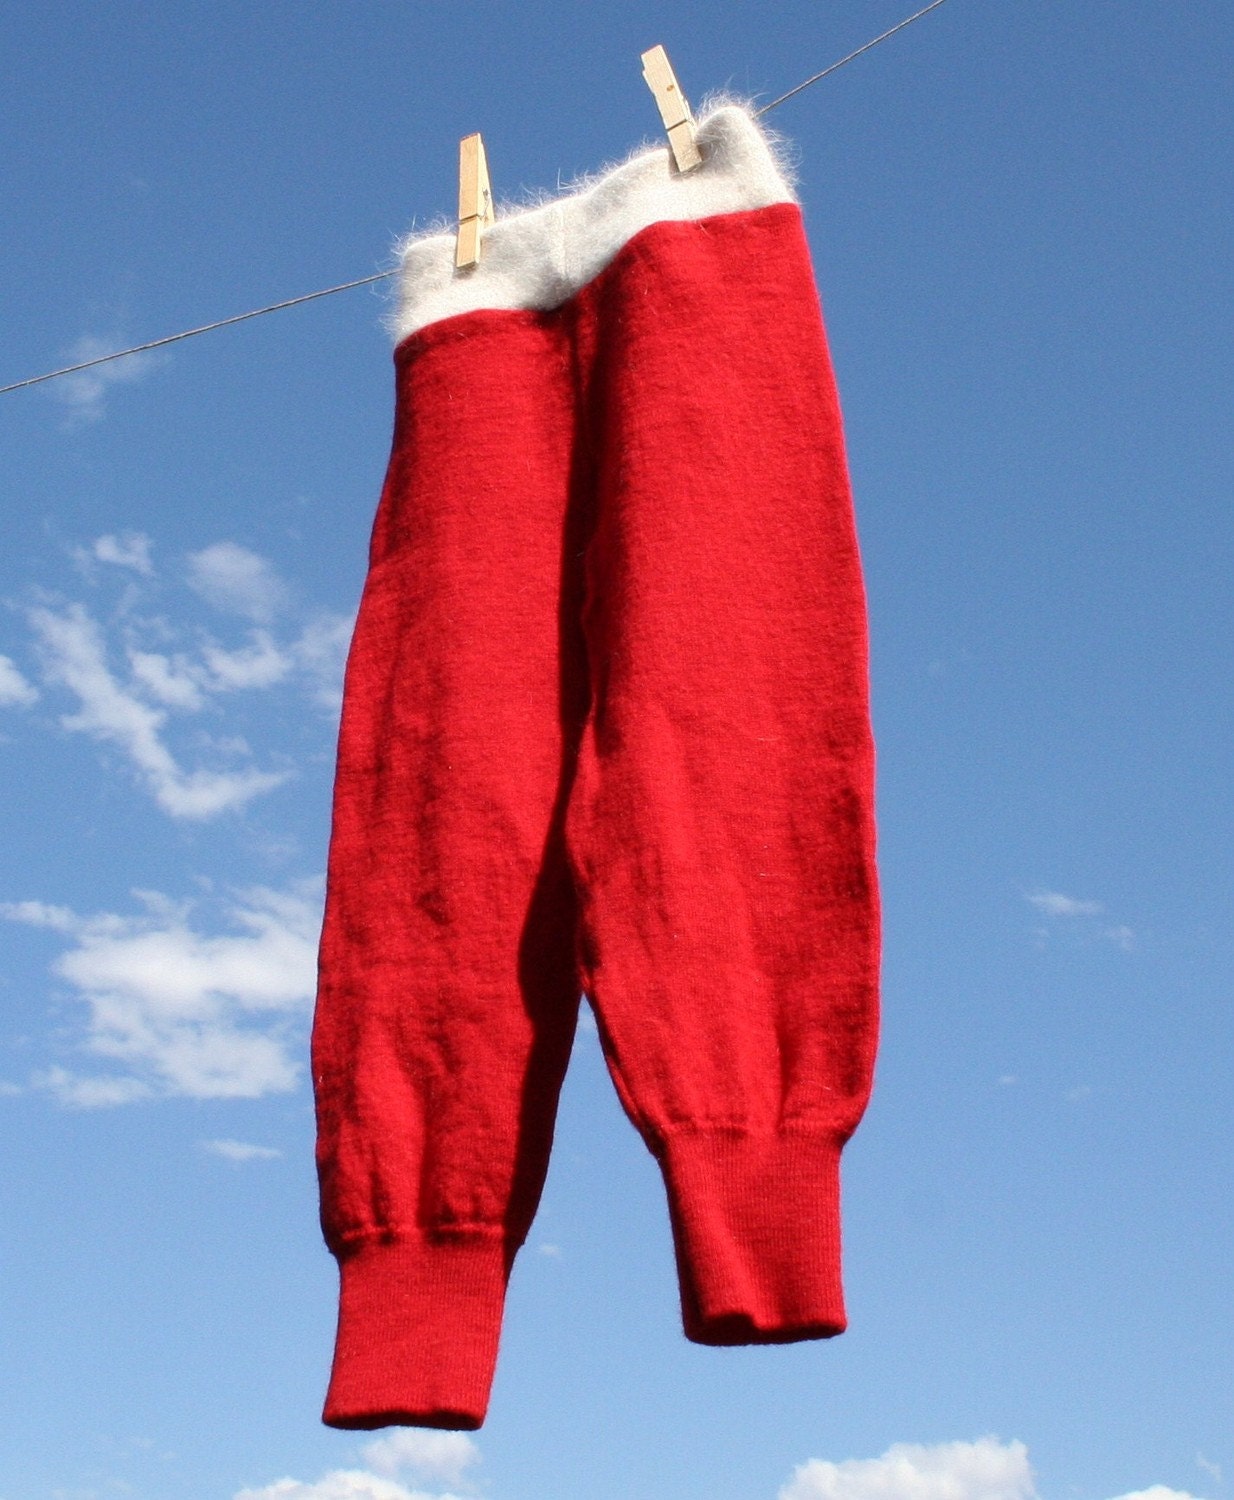
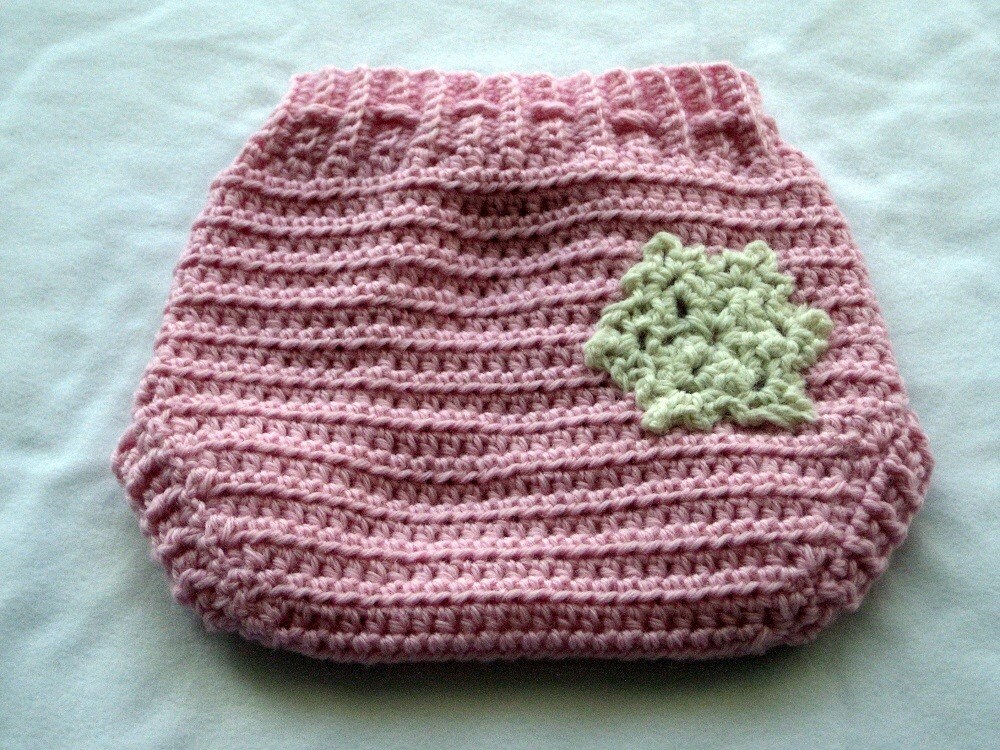
I cut my precious wool sweater. Now there was no turning back! It was all such a blur. Before I knew it, I had the cutest thing I’d ever seen to put on a baby. My mother, who always supports me in every creative endeavor, looked on curiously and maybe a little bit skeptically. Then, with more hope and excitement than I could bear, I put them on my DS. My mother was instantly won over. Who wouldn’t be? They were indeed the cutest thing a baby could wear. Somehow, not by my skill or knowledge, they came out exactly as I had hoped, better. Now the only problem was that everything in his wardrobe needed to match those longies!

They were wonderful. People who didn’t know they were a cloth diaper cover commented on the cutest pants they’d ever seen, and could I make them for adults?

Ah…first loves.

I’ve made many more pairs since then, some that I loved, some that were unwittingly sacrificed to the shrinking monster, some that merely served their functional purpose, but that first pair holds an immovable place in my heart. Sweet DS is growing by leaps and bounds and is still wearing that first pair, but they are difficult to tug on and off, and the southern spring is drawing near. What will I do with them? Surely they will not be cast of like so many unwanted treasures! Should I frame them and hang them on the wall? I do not know. For today I will enjoy watching DS wear them as he learns to stand and toddle, and scooch his way across the wood floors, sliding on the knees of my First-Love Longies.

Thursday, February 10, 2011

February theme, rodents!

Okay, this was a tough one, but surely someone could come up with a fuzzy little rodent to help us celebrate the month of February...and here it is! (Okay, we are stretching it) To clarify, a hedgehog is NOT a rodent, but we had to come up with something :)


Thursday, December 30, 2010

The last Thursday post of the year....

Thanks to all of the EtsyClothDiaper Team members for participating in the Thursday Themed posts. Check back next week for some exciting new creations!

And now for the final Winter / Holiday themed diapers...enjoy!


Thursday, December 16, 2010

More great Thursday finds...

Just have a look at these great Winter / Holiday Themed items! We have some very talented Etsyclothdiaper team members.


Related Posts Plugin for WordPress, Blogger...