Monday, October 31, 2011

Meet The Team-- Meet Carolyn from WOOLDINS

Carolyn's store is filled with beautiful and functional products all made with super absorbent, anti-bacterial Organic Bamboo. Her products include Organic Bamboo Velour Cloth Diapers in Fitted or AI2 styles,training pants, diaper covers, nursing pads and menstrual pads. Read what Carolyn has to say about her products and her experience with using and selling cloth diapers.

Where did you get the name for your shop? I initially began only selling wool items, and my nickname is Din......thus Wooldins was born. Crazy, I know!

Is it big business or a hobby? It is in between, certainly no bumGenius here, but more than a hobby for sure.


Why do you like selling on Etsy? It absolutely has to be the interaction with my customers. I LOVE helping others and being their solution to a dry bed in the morning! What could be better than that?

How long have you been sewing? I have sewn since I was a child, so I would figure about 25 years.

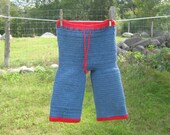
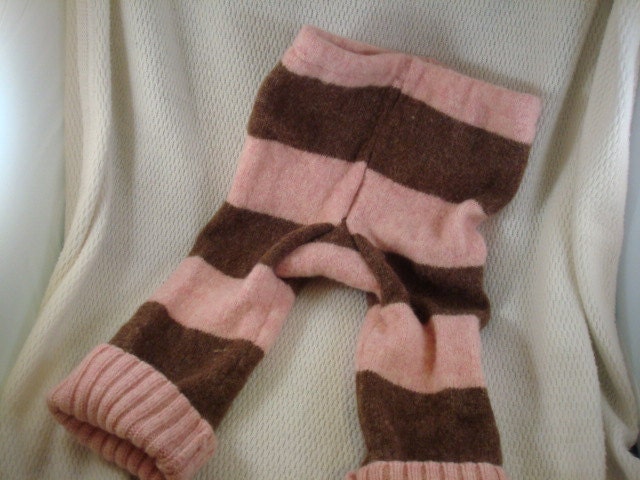
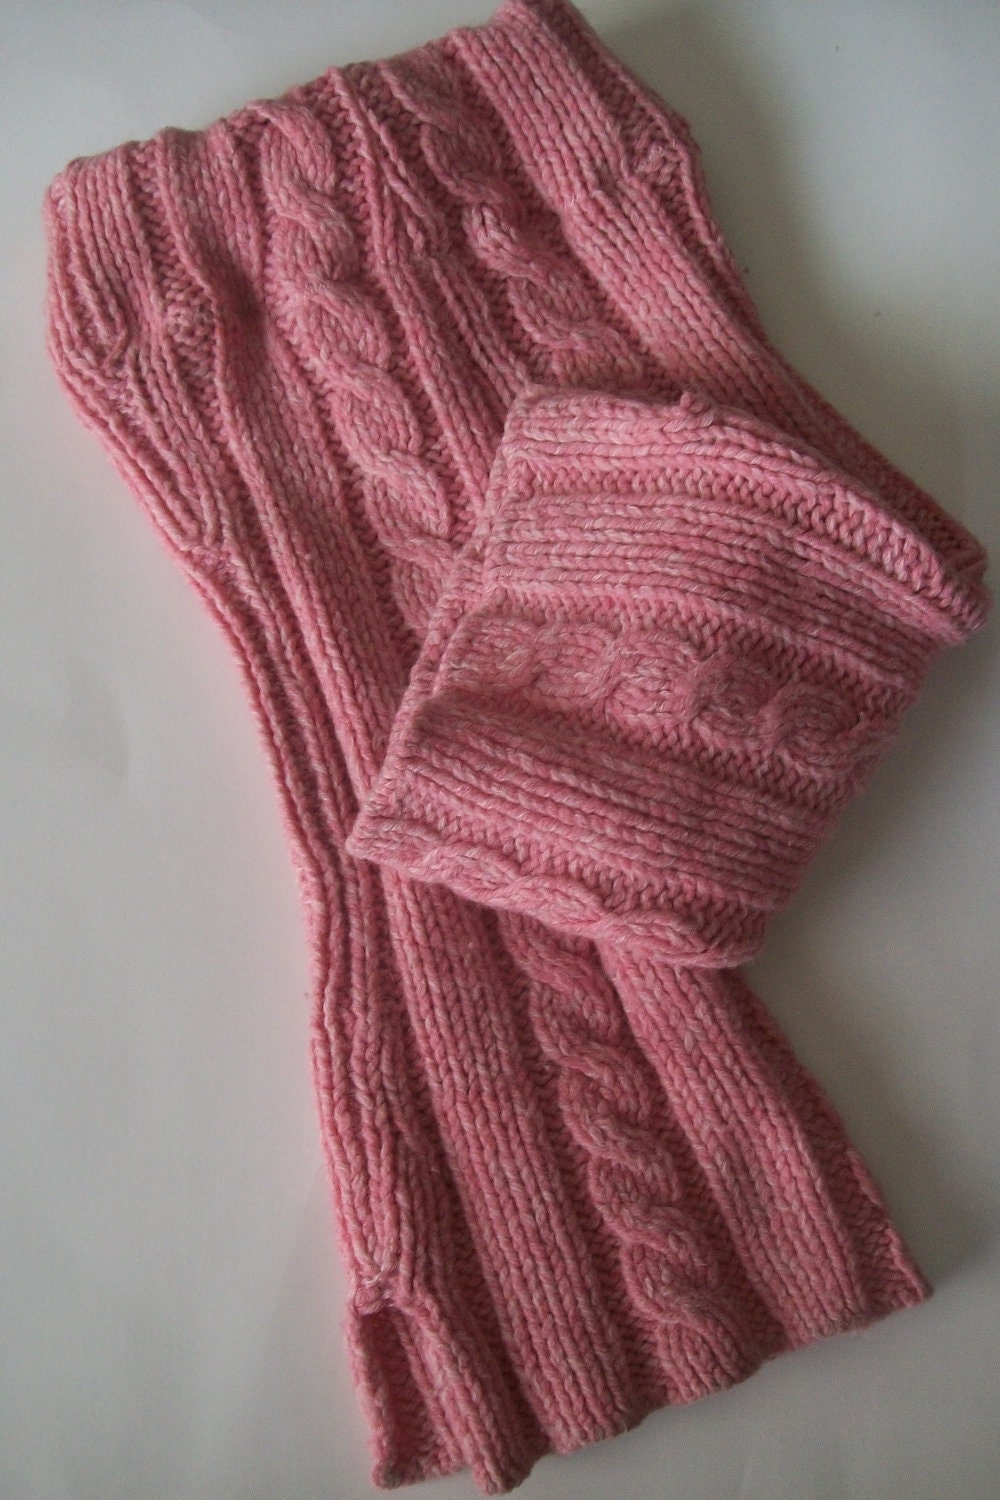
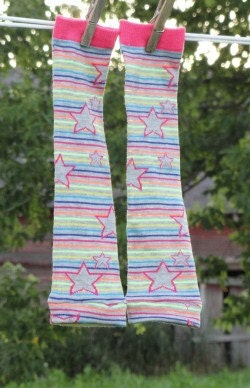
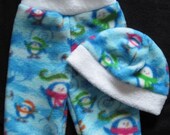
What is your favorite thing to make at the moment? I love to make the organic bamboo training pants, or nighttime bamboo pants.


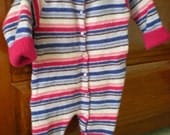
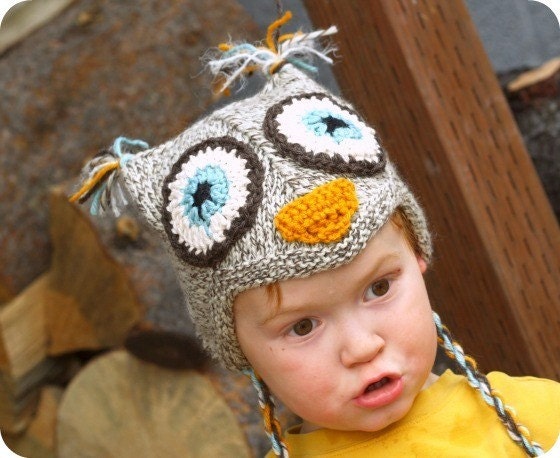
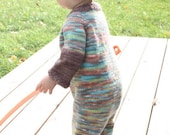
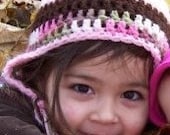
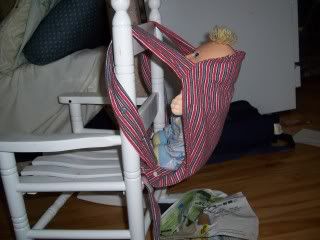
What is your favorite thing in your shop at the moment? The picture of one of my adorable customers with the organic bamboo pants on his head!

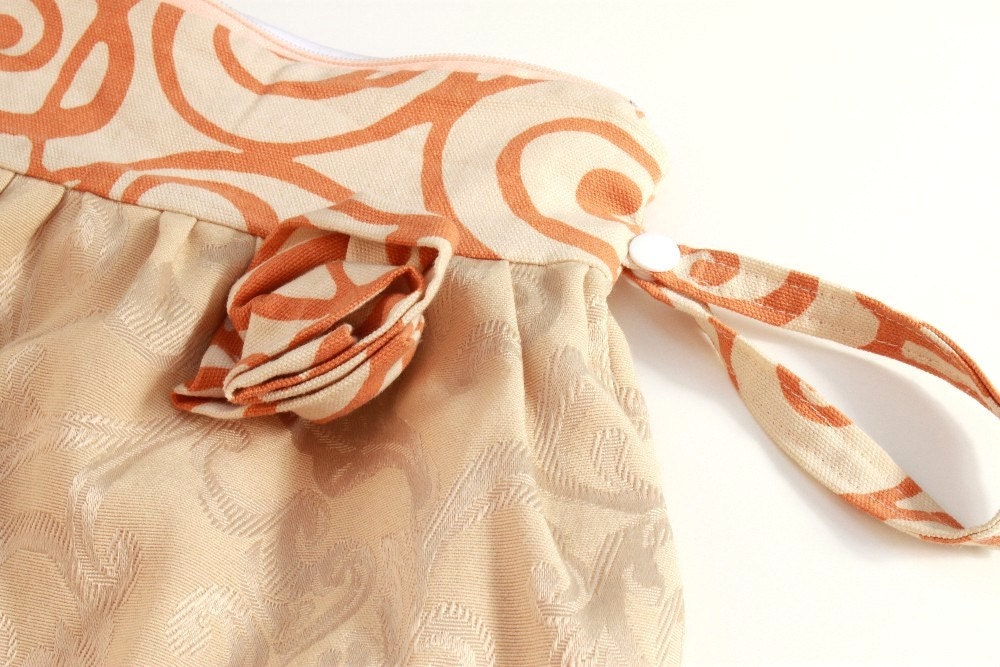
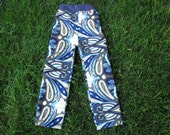
What is your inspiration? The fabrics......fabric today is truly an art. There is an abundance of beautiful fabrics available today. I am tempted to just frame everything, then again having it on a childs bottom is pretty darn cute too!

Why is cloth diapering important to you? It has to be simply because that is what is best for the child. How many adults would want to walk around with an uncomfortable, chemical laden disposable diaper on their bottoms?

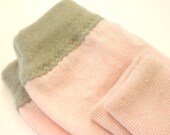
What factors are the most important to you when choosing a cloth diaper? The ability to fit a wide range of sizes, organic materials, and superior absorption with NATURAL fabrics. Yes, mine have all of that!

What is the kind of diaper you like the best at home? At home we like the organic bamboo with wool. On the go or travel? On the go or travel, it has to be a cover with an organic bamboo insert. For budget? Budget diaper would be the cover with insert, along with a few organic bamboo fitteds for nighttime. I wonder how many people realize how affordable great organic cloth diapering products really are?

Favorite CD shop on Etsy? Hmmm.....mine-- I really do not look around at others, honestly. I have too much work keeping up with my own!

What is your favorite cloth diapering memory? Looking at my babies cloth diapered bottom and smiling, knowing that I am giving him the best

Etsy Address: www.wooldins.etsy.com

Sunday, October 30, 2011

5 Easy Ways to Lower Your Family’s Chemical Burden

I’m sure you’re probably overwhelmed with all the info about chemicals in cosmetic products, in food, in the air, and yes, in disposable diapers. Of course we would all love to have all-natural cosmetic and hygiene products and eat fresh all-organic foods, but I also have to be practical about time and cost efficiency.

So I wanted to come up with a few simple ways that you can lower your family’s chemical burden (other than using cloth diapers, which is sort of a given for readers of this blog). Here’s is my list:

  1. Eat lower down in the food chain. Chemicals do tend to accumulate as you get higher up in the food chain (think: swordfish). Try incorporating more fresh vegetables and grains into your diet… it’s cheaper than buying meat, so maybe you can afford to incorporate more organic foods into your family’s diet as well. We try to prioritize where we will spend extra money for organics – milk and eggs are high on the list, and we also try to buy organic tofu, bananas, apples, and salad.
  2. Get rid of unnecessary scents. No, that doesn’t mean you have to go around smelling like an incense stick, but there are a lot of excess scented products that are marketed really hard there days (think home fresheners). If you absolutely must have a scent, try to look for one made from natural oils. Or look for unscented varieties of your favorite detergents and cleaners.
  3. Ditch unnecessary household products. This includes fabric softener and anyone still using a blue toilet cube. Yeah really, you don’t need them. Ok, I admit I did miss that nice soft scent of fabric softener when we first got rid of it, but our clothes are just fine – really!
  4. Say no to vinyl. The off-gassing from vinyl products contains a multitude of chemicals that have bad health effects (never mind the fact that it just smells awful, and the vinyl chloride used in the production of vinyl is carcinogenic to the workers). Rubber duckies are available in latex, and shower curtains are available in a variety of non-vinyl materials.
  5. Dust-busting. Ok, this may not be as simple as the others, but keeping the dust levels down in your house will help decrease the chemicals you breathe in (dust particles tend to trap chemicals). Vacuum as often as you can, and wipe down those surfaces!

These are just a few ideas, and I’ve tried to keep them as pocketbook-friendly as possible! Share what you do to lower your family’s chemical burden!

Saturday, October 29, 2011

Last Minute Jack O'Lantern!

This was a quick and easy little project I did with my 3 year old the other day.

What you'll need:

A glass jar, some orange tissue paper, black card-stock or construction paper, a green or brown ribbon, a small piece of double sided tape, mod podge (I had Elmer's glue on hand, but didn't try it because I borrowed some mod podge), a tea light and a foam brush. Oh, and scissors!


Cut the Orange Tissue paper into strips about an inch or so wide and the length of the jar from the bottom lip of the threading down across the bottom of the jar. The ribbon will go over the threading, so it should go around and overlap the ends about an inch.

Take your Foam Brush and put on a nice coat of mod podge, only do enough for a couple strips at a time. You want it to be thick enough to just barely be able to see through the glass.

Don't glue the bottom yet, it's easiest to do that part last.


After you have all the strips on the sides of the jar, put a layer of mod podge on the bottom of the jar. Then fold the ends over, placing a bit of mod podge under each strip.


Cut out your Jack-O-Lantern face pieces and attach them to the jar with the mod podge. Then put a layer of mod podge over the tissue papered portions of the jar. Be very careful when doing this so that you don't tear the paper or move your face pieces. The thicker the layer, the longer it will take to dry. SET IT UP-SIDE-DOWN TO DRY! (A group of my friends did this project and 3 ended up glued to a church table.)


When it is dry, place a small piece of double sided tape on one end of the ribbon, attach it to the jar, wrap around and use another piece of the double sided tape to attach the other end.


Drop in your tea light and PRESTO! Super cute Jack-O-Lantern without messing with the pumpkin seeds!

Happy Halloween!!!! From Erica at ShopJustForYou


Thursday, October 27, 2011

It is not impossible!

Many new moms who, for whatever reason, will work outside the home after their precious baby arrives may feel overwhelmed by the thought of motherhood altogether, much less the idea of using cloth diapers. For some, I'm guessing, cloth diapering is a fleeting thought followed by the comforting idea of the convenience of disposables. This was not the case for me! Especially not with baby #2.

With both of my children, I was blessed and cursed with pre-term contractions. The curse appears obvious while the blessing was that the contractions never produced any actual pre-term labor results like cervical dilation until it really was time but I was still on bedrest and not to return to work until after the babies had arrived. During this time, with number one, the thought of cloth tugged at me and I even mentioned it to DH who immediately saw it as nasty and troublesome. Baby #1 was disposable diapered. :-(

With baby #2, I had the same bedrest but now even more time on my hands as this bedrest began at week 23 (and not week 30 like #1). A busy mind and an idle body make an unrelenting cloth diapering wannabe. I was determined to convince my husband that this was the best way. Of course I just needed to push the right button... Money.

While I enjoy working outside the home, I don't do it because I want to, and saving money is usually a very motivating factor to my husband. So, I made a spreadsheet (so very unlike me) of how much money we would be saving if we went the route of cloth. And while real life didn't turn out in any way to be anything like my spreadsheet of future diaper spending, the spreadsheet and a couple questions was all he needed to change his mind.

Then it hit me... I had been spending hours a day researching cloth, getting the dh's approval, and even learning what I would need to sew them for myself. I had nver asked my day care lady if she would approve. The first time I asked she said yes, but I didn't believe her until I had asked 7 more times in different ways and she said yes every time. I had felt like I would be a huge burden on her since she cared for children by herself in her own home. But as
it turns out, she really did mean yes and has never complained about it. (You're the best, Ms. Jennifer!)

Now, learn this the easy way from me... Don't go the cheap prefold route with a day care unless they are already skilled and knowledgeable about them. And don't give them more than one type of diaper to try in hopes of them telling you which kind they prefer. Stick with all pockets, all AIO's, or all AI2's and don't mix the types.

We have found great success with Smartipants, Rumparooz, and Blueberry pockets at day care, and while my dh likes the Smartipants the best, but still feels like he needs to start a "Dads of Cloth Diapered Babies Support Group". Ha! He'll live. ;-)

You may find that one of the most important things about cloth diapering with a day care is the wetbag. We use the PlanetWise Wet/Dry hanging wetbags and have two in rotation. The dry part of the bag we keep the clean, stuffed pocket diapers in along with one extra change of clothes.

I'm sure the biggest source of concern for working parents using cloth diapers is the added laundry. This is not an insurmountable obstacle! We used to wash every other day and, quite honestly, nearly lost our minds. Now, I've added to our stash of pockets and I can get away with every two days. This seems to be our sweet spot for laundry frequency. I'm not really willing to go more than every two days and every other day was a much bigger chore and almost made the whole process not worth it for my family. You will find your own frequency too and once you do, you'll wonder why anyone ever questions whether it is possible or not to cloth diaper and work full time!

As a working mom, there are countless things I wished I would have done or done differently, but cloth diapering has made me feel like I am doing the best I can for my family's budget and my baby's bum. At this point, with #2 being 19 months, we barely think about it anymore and we don't stress if cloth diapers just don't happen every now and then. We keep a package of disposables handy in case there is a time crunch or, like tonight, allergies are so bad that laundry just has to wait. We'll send her with some disposables in the morning and not give it a second thought.

by Amy of FluffaBebe

Boulevard Designs Giveaway Winner


And the Winner is...


Angie!
Don't forget that you can get your own fleece covers, fitted diapers, and more from Sarah at Boulevard Designs on Etsy!


Wednesday, October 26, 2011

Wet Bag with Style!

Today we are featuring a very stylish clutch wet bag from Bright Rose Creations. As you can see by the picture, this is not your ordinary wet bag.  I was talking with Sharon, shop owner, about her design.  She said,   "I was basically in the mood for something girly, so I made a girly wet bag!". The fabric rose, while cute she knew was not practical with the amount of washings a wet bag goes through, so she made it to snap off for washing! It also has a nice strap for hanging dry.


Sharon has been making cloth diapers and supplies for about two years, and selling on Etsy for a little over a year.  I was intrigued by her name and asked her how she came up with it.  Here is her reply, "I am always happiest to create and paint in "Bright" light.  On sunny days, I just want to paint or sew.  "Rose" is my middle name, and also my favorite flower.  And "Creations", because there are so many things that I like to create.  I choose to make things that I really enjoy, and that I find useful for myself, my family, or my pets.  I  create a wide variety of items, using different crafting modalities - sewing, handknitting, painting.  Creations is the catch all term for all of my creative endeavors."

BrightRose Creations also makes custom dog diapers! She has made diapers for 7 pound dogs, and 80 pound dogs! Each one is custom fit.

Sharon has graciously agreed to giveaway a set of 6 washable wipes and a tote bag this week.  Simply follow the directions below for your chance to win these beautiful and useful products from BrightRose Creations.


2 Required entries:

-Follow this blog, etsyclothdiapers.blogspot.com, via Google friend connect. If you are already a follower, just leave a comment saying you already follow. Otherwise, leave a comment saying you are a new follower.
-Visit BrightRose Creations shop; come back here and leave a comment about your favorite item.

Additional optional entries (leave a separate comment for EACH of the following that apply)(be sure that you are signed in or leave a way to contact you in each comment):
- Like BrightRoseCreations on Facebook
- Like the Etsy Cloth Diaper team on Facebook
- Follow the Etsy Cloth Diaper team on Twitter
- Tweet about the giveaway (limit one per day) - be sure to use @etsyclothdiaper in your tweet

-Post about the giveaway on your own blog.


Giveaway closes at 11:59pm EST on November 2nd.

Winner will be announced on this blog on Thursday Oct. 3rd.


A random blog comment number will be selected using random.org. You MUST comment on this blog post to be entered, and have contact info in your profile. Each entry entry must be its own comment. If you combine entries into one comment, it will only count as one entry. Winning entries will be validated, and you MUST do the required entry to have any additional entries be valid. Thank you for entering!

Sunday, October 23, 2011

Five Tips for a Greener Halloween


Many of us try to do our part for the planet, but when faced with a holiday it's easy to slip back into old habits and forget to make "green" choices. Here are five quick and easy ways to "green up" your Halloween celebration.

1. Light up the night the eco way - with LED or solar-powered lights yard lights. Don't forget to replace your porch light with a CFL bulb too!

2. Host a costume swap and invite everyone you know. Plan to repeat every year for an endless supply of "new" costumes for your children, your husband, maybe even the dog.

3. Get crafty and do it yourself! Making your own costumes and decorations is fun, and saves money too. A quick search on the internet will give you more ideas than you'll have time or energy for.

4. Pick a huge pumpkin and let each member of the family contribute instead of buying multiple pumpkins that will just be thrown away.

5. Take a hike and walk around the neighborhood instead of driving house to house or street to street. Not only is it better for the environment, it's better for your health too.

Challenge yourself to see how plastic-free you can be this Halloween. I know my family won't be able to go 100% plastic free, but I'm going to see how creative we can get to avoid using plastic as much as possible.

What are your favorite Green Halloween tips?


Image credit: http://carolbrowne.com/

Saturday, October 22, 2011

How to make... a doll carrier

Making a doll carrier is easier than it looks.  It can make a great gift for toddlers and kids who want to do just like mommy (or daddy).  With the Holidays approaching ( I know we are still in October... ), it can make a great gift for toddlers and kids who want to do just like mommy (or daddy).

I made this one for my son when he asked to carry his one doll like I carried his baby sister.  Ok, I'll make you one, I said.  And naturally, when I was done, he did not want to use it anymore...

Please note that the carriers made with this tutorial are intended to carry dolls and stuffed toys, not real babies or child.

Anyways, here is how I made it, with upcycled fabric!

I took a men's flannel pj( you know, those with 2 inches hem...), so I could use the hem for the main piece:
  1. Cut one of the legs to make a 12in *16 in rectangle, keeping the big hem at the bottom.  Then a second piece that will be 2 inches shorter ( the one with the horizontal lines), so 12*14( if you serge the hem), or add a small hem allowance on that piece only.


  2.  Fold your pieces in half, and 2-3 inches from the top, cut a curve.
  3. Cut 2 : 4*20 inches ( straps) and one 3*28 inches ( waist band) from your fabric.  Ignore the white thing on the picture.
  4. Right side together, sew or serge along the long edge of the 3 long pieces, and turn right side out. Seam allowance is 1/4 in.
  5. Take you 12*14 pannel, and serge/overcast/hem the straight bottom part to prevent fraying.
  6. Make the straps:  Take the 2 20 inches tube and insert something to make them thicker, either some fleece, batting, or, like I did, some UNSTRETCHED Fold Over Elastic ( FOE).  Let both ends of the FOE show at the extremities.
  7. Sew a straight line on the straps to hold your «batting» in place, NO stretching.
  8. Take your 2 panels, right side together, and pin each strap  in the curve of the panels.  The straps will be hidden between the panels at this time and they will have a loose end.  Make sure that the extremities that will be sewn  show outside for 1/2 inch, like in the picture.
  9. Sew the 2 long sides and the curve together, like a U.  DO NOT SEW the bottom yet, you still need it to be open.
  10. Clip curves and turn. Topstitch the 3 sides you've just sewn.  You can also reinforce the straps at this point.
  11. On the shorter pannel ( the one you serged or hemmed the bottom edge), pin each loose strap ends 3/4 inch on the wrong side of the bottom edge of the fabric, approximately 1/2 in from the the side seam.  Make sure the straps are not twisted.  
  12. Sew each strap in place.
  13. Prepare your snapping material.  For each strap you will need 3 caps, 1 stud and 2 sockets.
  14. Put one CAP on the 3/4 inch hidden end of strap ( used as reinforcement), and one STUD or the right side of fabric. Snap.  Repeat for strap # 2.
  15. Take you 3*28 inches tube  and insert it in the big hem the the bottom of your bigger panel, and center it so each side is equal.
  16. Cut a 8 inch long piece of FOE or 1 inch wide elastic, insert it into the hem, pin and sew at each extremity of the hem.
  17. Now you can close the 2 panels together by sewing the shorter pannel to the longer one.  On the picture, I sew directly on my serged edge, as close as I can to the big hem. This side is the INNER side.
  18. Decide if you want the waistband to fasten with a knot or with velcro closure ( easier for toddlers).  If you decide on knots, just finish the raw edge and your alomsot done ( ie. see you in step 22 )  If you want velcro closure, keep reading:
  19. Cut your waistband shorter ( I did cut 3 inches on each side) and finish the raw edge.
  20. Sew a 1.5 inch HOOK velcro  at the end of one waistband strap, on the inner side ( toward the wearer).
  21. Hook is on the let side of the picture.
  22. Sew a longer LOOP velcro on the outer side of the opposite strap, closer to the main panel if you have a skinny toddler, like mine.  If you have some loop tape, it is even better, as you won't have to sew your velcro again as you child grow up.
  23. Now, back to snaps! You will apply 2 SOCKETS at the bottom of each strap ( the socket facing the wearer, so it is also facing the stud...), spacing them approximately 3 inches.  This will allow for your 2 years old as well as your 6 years old to wear it easily.
Et voilà!


Related Posts Plugin for WordPress, Blogger...