Monday, February 27, 2012

This week we'll spend a few moments getting to know Samantha, the creative force behind Northern Mom at Etsy.

Where did you get the name for your shop?
-This is a funny story. A few years back I was really into knitting and crocheting and decided to blog about my new found hobby. I had to come up with a catchy name and I figured since I was 'North' of most people (being smack dab in the middle of Canada) and a Mom to three children at the time, the name NorthernMom came up.

Is it big business or a hobby?
-Honestly this started out as a way to feed my own hobbies. I really loved sewing cloth diapers for my own children but I soon realized I had my very own fabric shop in my basement! So I quickly turned the hobby into a business, otherwise I couldn't justify my fabric spending habits I've now grown enough to say that I have a full fledged business on my hands.

Why do you like selling on Etsy?
-I really enjoy selling on Etsy because of it's built in search engines, I don't have to program/design my own website and there is such a great online community that really supports people working from home.

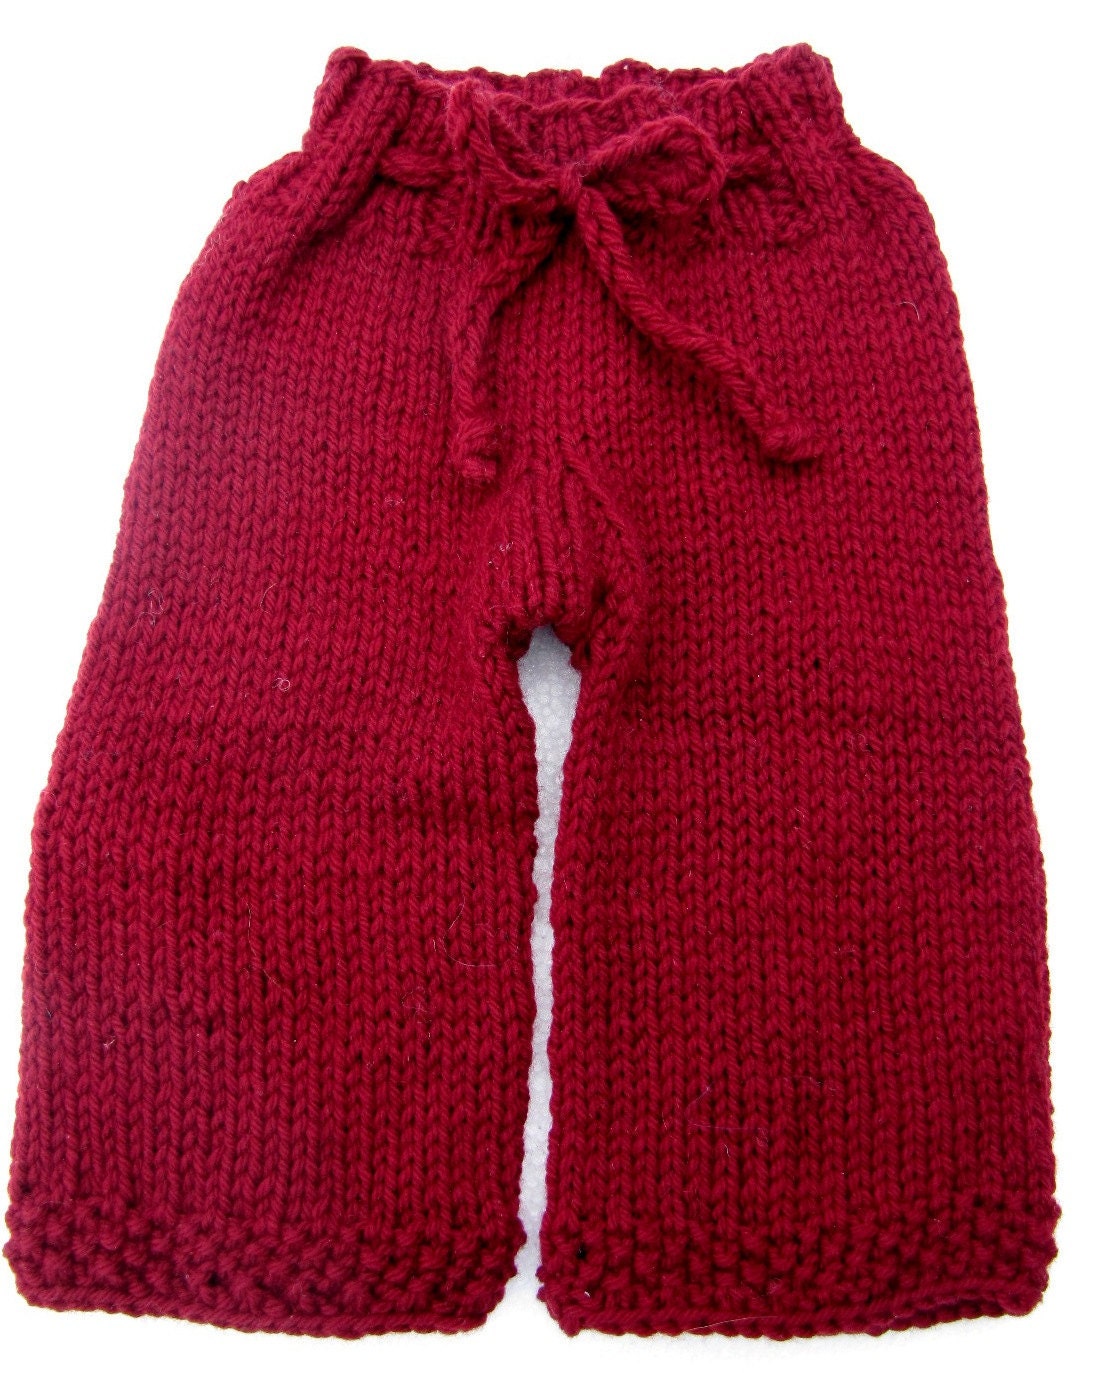
How long have you been sewing, knitting, crocheting, etc.?
-Yikes, I've been crafting for almost my whole life. My own Baba taught me to knit, crochet and sew when I was a kid, probably around 10 or 11 years old. Can you believe I still have her old sewing machine in my garage?

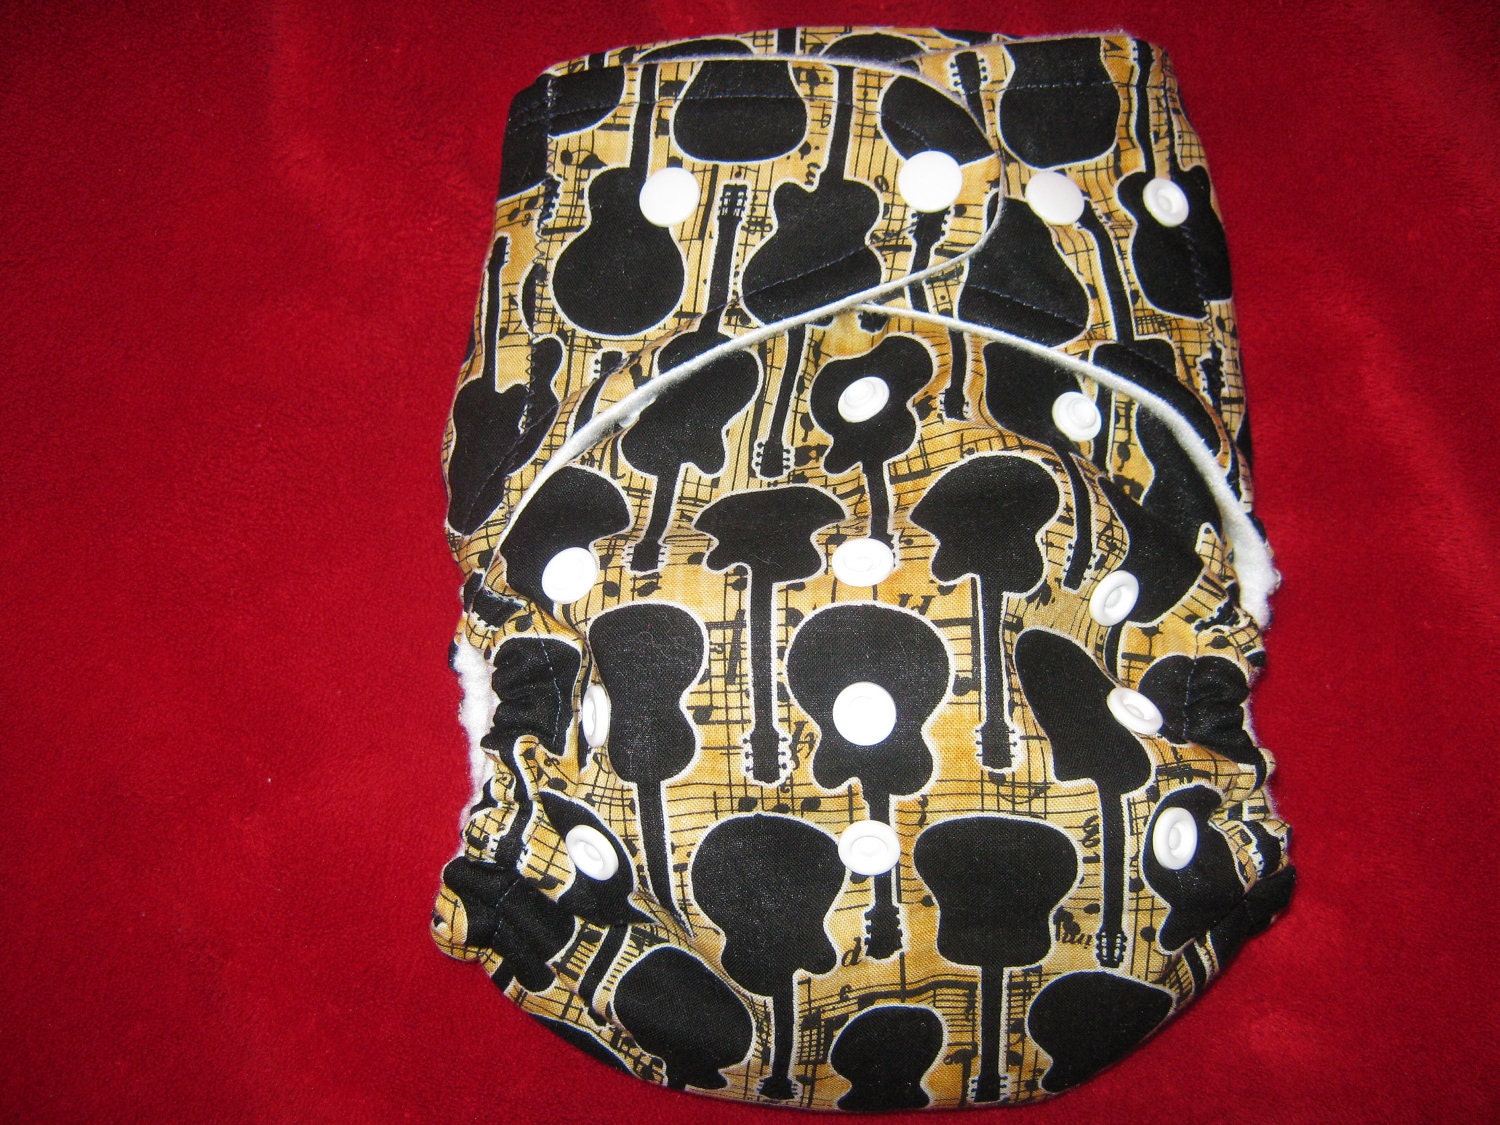
What is your favorite thing to make at the moment?
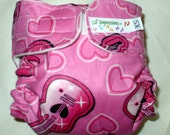
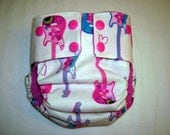
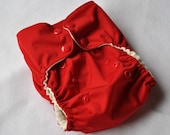
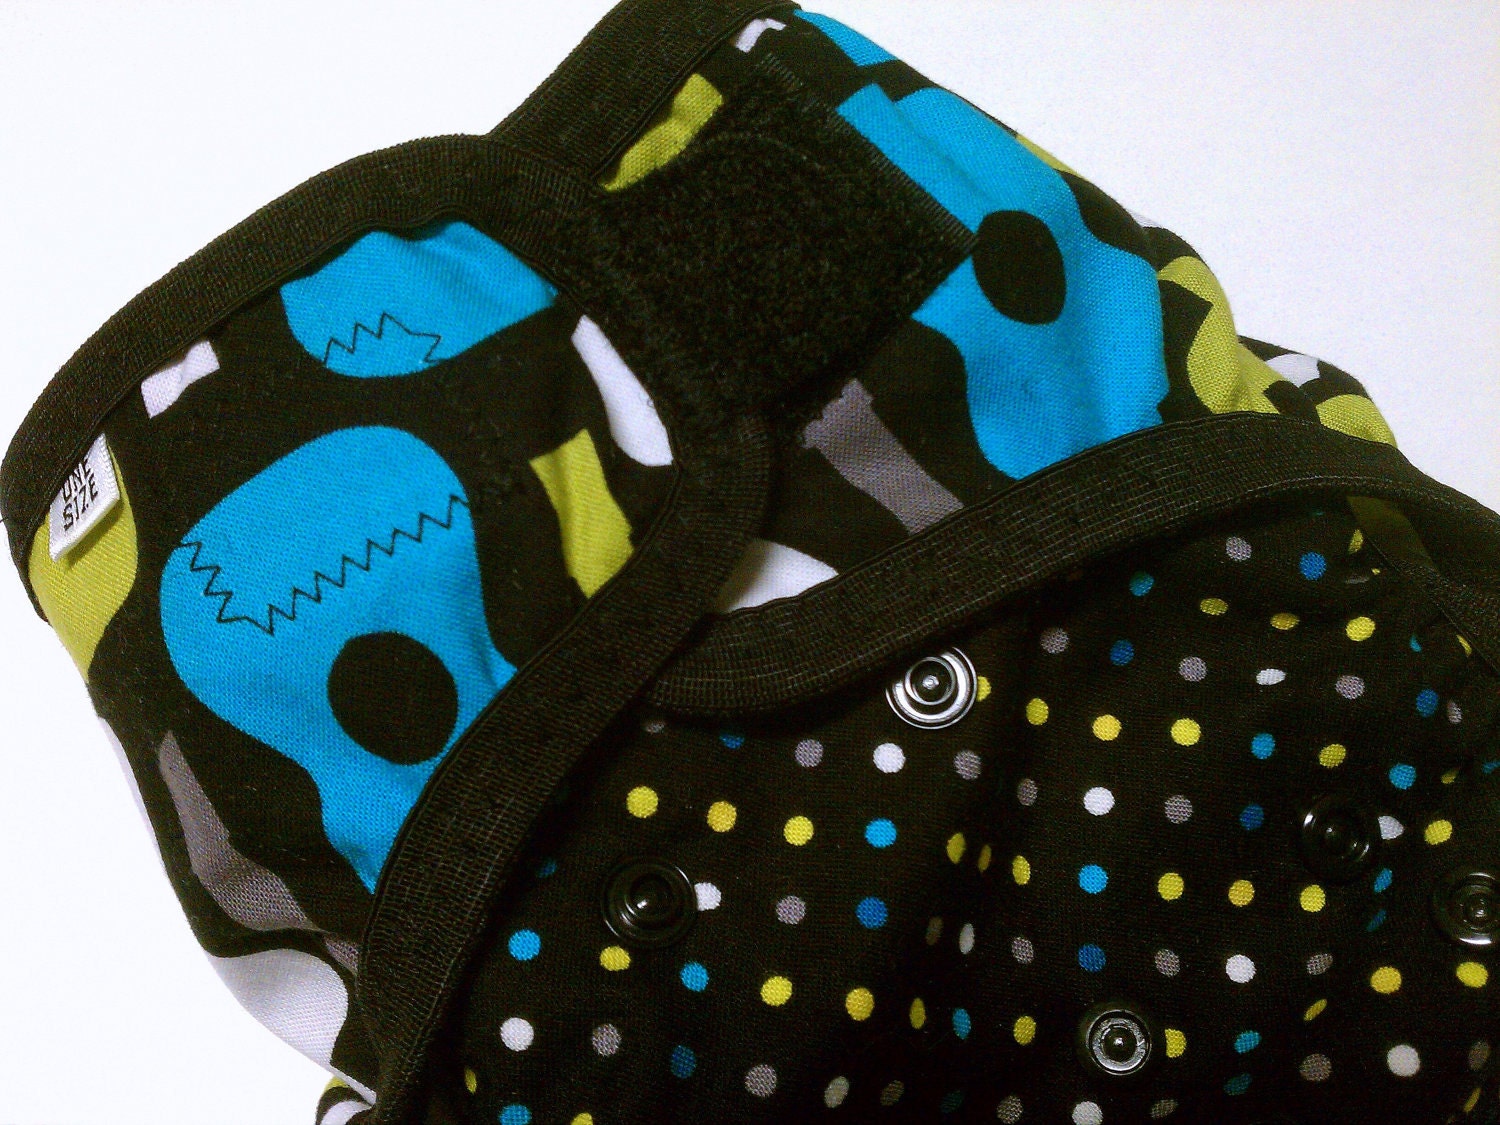
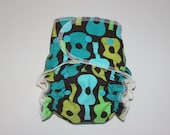
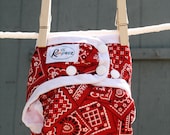
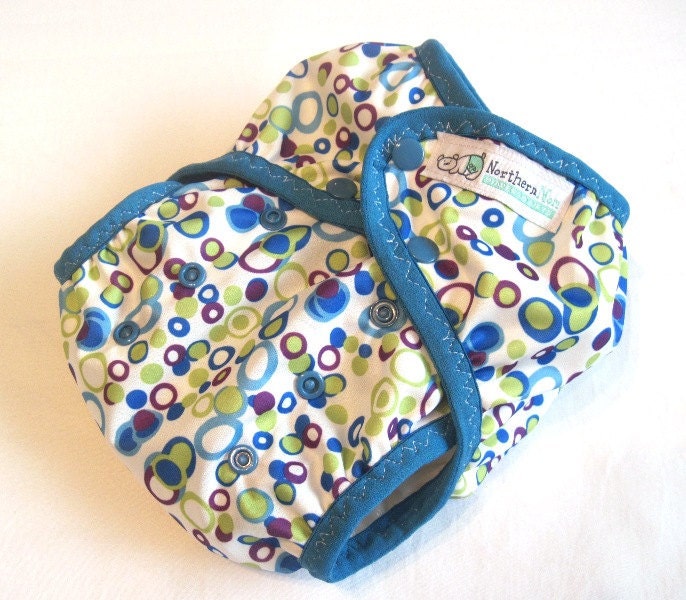
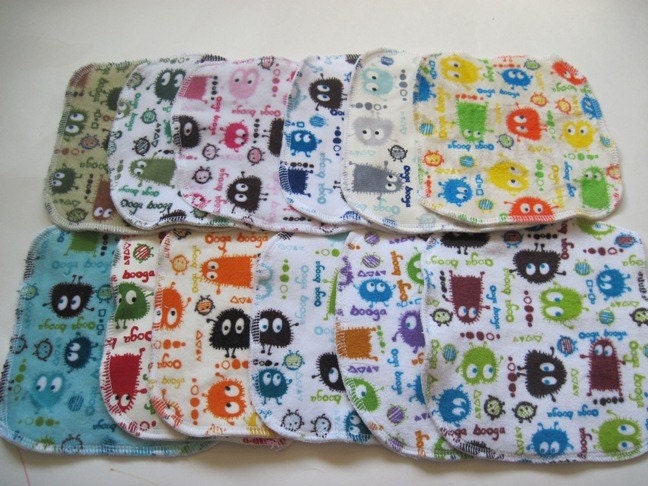
-It is a tie between my ooga booga cloth wipes (with bamboo velour and bamboo fleece) and my one size pocket diapers.

Who is your inspiration?
-My children are my inspiration. I love to make them things hoping that they will inherit my love for crafting when they get bigger.

Why is cloth diapering important to you?
-Honestly I got into cloth diapering in order to reduce our monthly budget. At the time I had one in diapers and one on the way. (With two older children) Fast forward 2 years and I still have one in diapers and another on the way!

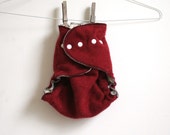
What is the kind of diaper you like the best at home?
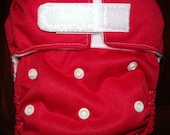
It's a toss up between my pocket diaper and the AIO diaper. The pocket diaper is great for nighttime use because I can stuff it to meet my son's needs so he can wake up without a leak. During the daytime I like to use the AIO diaper because it is so trim and his pants will stay up!

What is your favorite cloth diapering memory?
-When my husband tried to change my daughter for the first time after she had a BM. The look on his face was priceless. "I have to do what with the diaper?" (Meaning he had to rinse it off first before putting it in the pail) Now, he can do it without batting an eyelash!

Thanks Samantha! Just one more question...
Where can we find you?

- You can find me at:
www.northernmom.etsy.com
www.facebook.com/northernmom

Saturday, February 25, 2012

Belgian Waffles

This recipe makes up a crispy on the outside, light and fluffy on the inside, Belgian Waffle.

Yield:  4 Belgian Waffles

Ingredients:
1.5 C     Bobs Red Mill Stone Ground Whole Wheat Flour
3.5 tsp   Rumford Aluminum Free Baking Powder
3 tsp      Brown Sugar
1.5 C    Whole Milk
2 Tb      Coconut Oil (melted)
2           Eggs
             Vanilla Extract

Directions:
Mix Flour, Baking Powder, and Brown Sugar, being sure to break apart the lumps of Brown Sugar.
Make a well in the center and add:  Milk, Coconut Oil, Eggs and Vanilla to taste.
Beat eggs in center and gradually mix in dry ingredients.
Pour onto hot waffle maker!
Top with Yogurt and Raspberries!
Enjoy!

Friday, February 24, 2012

Making cloth diapers....the inexpensive way.......


When I became pregnant with my twins last year, I realized I needed to get some inexpensive cloth diapers. Then, I thought, why not make them myself. Though I have a lot of sewing experience, I think making your own diapers doesn’t have to be daunting! I wanted to make a total of 40 diapers.

First, I needed to find a pattern and style of diaper. There are many patterns out there, some are free, some are a few dollars. Here are some of the sites I found helpful:

http://webcache.googleusercontent.com/search?q=cache:FECLujiyoHoJ:www.diapersewing.com/+how+to+put+snaps+into+a+diaper&cd=1&hl=en&ct=clnk&gl=us&source=www.google.com

http://mayna.livejournal.com/198548.html

This site offers all kinds of diaper making supplies: http://www.assuntastore.com/cart.html

This site has kits that INCLUDE everything you need to sew your own diapers! How cool is that! You don’t have to do any of the prep work!

http://www.kaylasclothkits.com/catalog.php?item=1&ref_catid=3

I wanted to make my diapers as inexpensively as possible, so I opted for a free pattern. I found it here at cloth revolution. Their directions were a bit confusing, so I used a combination of some of the other sites to figure things out.

http://themafiatutu.blogspot.com/search/label/Pattern


Once I had figured out the type of diaper I wanted to use and I found a pattern…then I had to decide on my material. Again, since I wanted to spend hardly any money, I went to my local Goodwill store and I found lots of inexpensive flannel sheets. I spent approximately forty dollars on the flannel sheets. I decided this is what I would use to make my diapers!

I also decided that I would make my diapers with four layers, and use a liner. I figured that way they weren’t too thick and would dry quicker. For my liners, I went to my local dollar store and bought wash clothes. They were two for a dollar, so for forty dollars, I got eighty liners. Each diaper change, I use two liners.

I had to decide between Velcro or snaps. I had never made diapers before, so I decided not to make the investment of buying a snap press. Though I have been told this is the best one to get:

http://www.kamsnaps.com/Snap-Press-amp-Dies/Snap-Press-Dies-not-included-Free-US-Shipping-p112.html

So next, I needed elastic and Velcro. The patterns tell you how much Velcro and elastic you will need. I went online to do some price comparisons. I figured out that I could get the elastic cheaper by going to my local sewing shop with a 50% off coupon. The Velcro I found here:

http://www.itapestore.com/velcroand174brandsew-onwhiteloop1x1yard.aspx

http://www.itapestore.com/search.aspx?find=VELCRO+ONE-WRAP+Roll+-+White+1%22+X+25+yds

For the Velcro, you need a lot more of the loop than you do the hook, so buying it separate is best. If I made the diapers again, I would not use this type of Velcro because it started to curl. I think instead I would buy it from another site. For the Velcro, I spent about thirty dollars. For the elastic, I spent around fifteen.


I cut out all the diapers first. Since I was making forty diapers and they each had four layers, that was a lot of cutting! Then I was ready to get started on the sewing. The first diaper took me a long time. I got confused and had to redo some things, but I looked at the different sites and figured things out. I loved how it looked and I was quite proud of myself. I did the diapers in an assembly line routine…first all the edge sewing, then all the elastic, then all the inside out flipping, then the closing sewing, then the Velcro. It probably took me about a week to make forty diapers!


All in all, it cost me approximately $125 for forty diapers…that’s about $3 per diaper. They aren't perfect..but they work and I did it myself!

I would be more than happy to answer any questions you had about making your own cloth diapers. It really was a fun experience!!

Elizabeth
Catchick6 Creations
http://www.etsy.com/shop/Catchick6Creations
http://www.catchick6creations.com/

Sunday, February 19, 2012

Eco Tips for work

Being always on the go, working full time does NOT mean not being ecological...


Buy yogourt, cheese, snacks in larges quantities, in big containers, and bring the amount you need in a washable/reusable container.  ( You'll probably save money that way, too...)

Use washables/reusable containers instead of plastic bags.

Bring you own cup for the coffee machine instead of those nasty foam cups.

If you use a lot of batteries and you working environment is not « rechargeable» friendly, don't throw them in the garbage.  Collect them  in a container ( keep away form pets and kids if you do it at home) and bring them to your local recycling center.

Recycle what can be recycled.  Bring back home your yogourt individual container you recycle it at home if there is no recycling program at work.

Keep a set of fork/spoon/knife and a place-mat at work, so you don't have to use plastic forks and brown paper towels.  It looks better too.

In a lot of workplaces, the paper basket gets full very quickly with paper printed only one one side.  If it is not confidential papers, reuse it for taking notes, making notepads, or bring them at home for the kids.  They always need something to paint/cut/colour...

If you want to make a notepad, it is really easy:

Take 10 letter sized sheet in the paper bin,.  cut each in 4, so you have 40 pages.  Put the print side toward the bottom.  On 1 short size, make sure everything is straight with a straigh edge, and put a few coats of white glue ( plain craft glue from the kids craft bin...), letting dry between each coat.

Tadah!  You have a notepad!

Saturday, February 18, 2012

Black Bean Brownies

So, after reading about Black Bean Brownies here, , I had to try them. I was a bit skeptical, but they were delicious. And everyone of my children loved them also. They were easy. The black beans and spinach replaces the flour. Give them a try. And let me know what you think. I added more chocolate chips than the recipe called for (1 cup). I also used dark cocoa powder. I omitted the coffee, because I didn’t think my children would like that.

Ingredients

  • 1 (15.5 ounce) can black beans, rinsed and drained
  • 3 eggs
  • 3 tablespoons vegetable oil
  • 1/4 cup cocoa powder
  • 1 pinch salt
  • 1 teaspoon vanilla extract
  • 1/2 cup white sugar
  • 1 teaspoon instant coffee (optional)
  • 1/2 cup milk chocolate chips (optional)

Directions

  1. Preheat oven to 350 degrees F (175 degrees C). Lightly grease an 8×8 square baking dish.
  2. Combine the black beans, eggs, oil, cocoa powder, salt, vanilla extract, sugar, and instant coffee in a blender; blend until smooth; pour the mixture into the prepared baking dish. Sprinkle the chocolate chips over the top of the mixture.
  3. Bake in the preheated oven until the top is dry and the edges start to pull away from the sides of the pan, about 30 minutes.

Nutritional Information open nutritional information

Amount Per Serving Calories: 126 | Total Fat: 5.3g | Cholesterol: 40mg

by Elizabeth of Catchick6 Creations
http://www.etsy.com/shop/Catchick6Creations
http://www.catchick6creations.com/

Related Posts Plugin for WordPress, Blogger...